3D printer
10 years ago, in 2007 3d printer prices broke through the 10000 USD barrier. Today in begin of 2017 you can get a 3d printer express delivered anywhere for less than 200 USD or € from aliexpress and probably ebay too. So obviously i had to get one :) iam not good at resisting “cheap” and cute tech.
The printer i bought was the tevo tarantula which at the time had the most orders in the price range i looked at on aliexpress. I got the version with a large print bed and auto leveling for about 250 €. I almost also got dual extrusion for free as the sloppy seller had a copy and paste error in the offer, sadly she insisted on not including that but she instead added some free replacement nozzles and more free filament.
There were not too many alternative options as i did not want a printer made from primarily acrylic plates (not strong yet brittle and not very hackable). One alternative would have been the flsun 3d i3 printer, my main reason i decided against that was its smaller build area and apparent smaller user base resulting in lack of reviews. I decided against delta style printers simply to keep the number of choices down and with the thought that i might buy a delta style printer at some point in the future.
The tarantula is primarly made of aluminum extrusions with a few acrylic plates. At the time when i bought it, it was shipped with DHL express for free. I was quite surprised about the express shipment and quickly found why, apparently express shipments appear to be subventioned in hong kong. Before receiving the printer i decided to buy a cheap set of random replacement parts for 3d printers, having read of quality issues and having experience with buying things from china ;).
The manual for assembling the printer starts quite good, the first page tells you how to put the base together suggesting to place the horizontal part in the middle, which is not optimal if you want to maximize the print area.
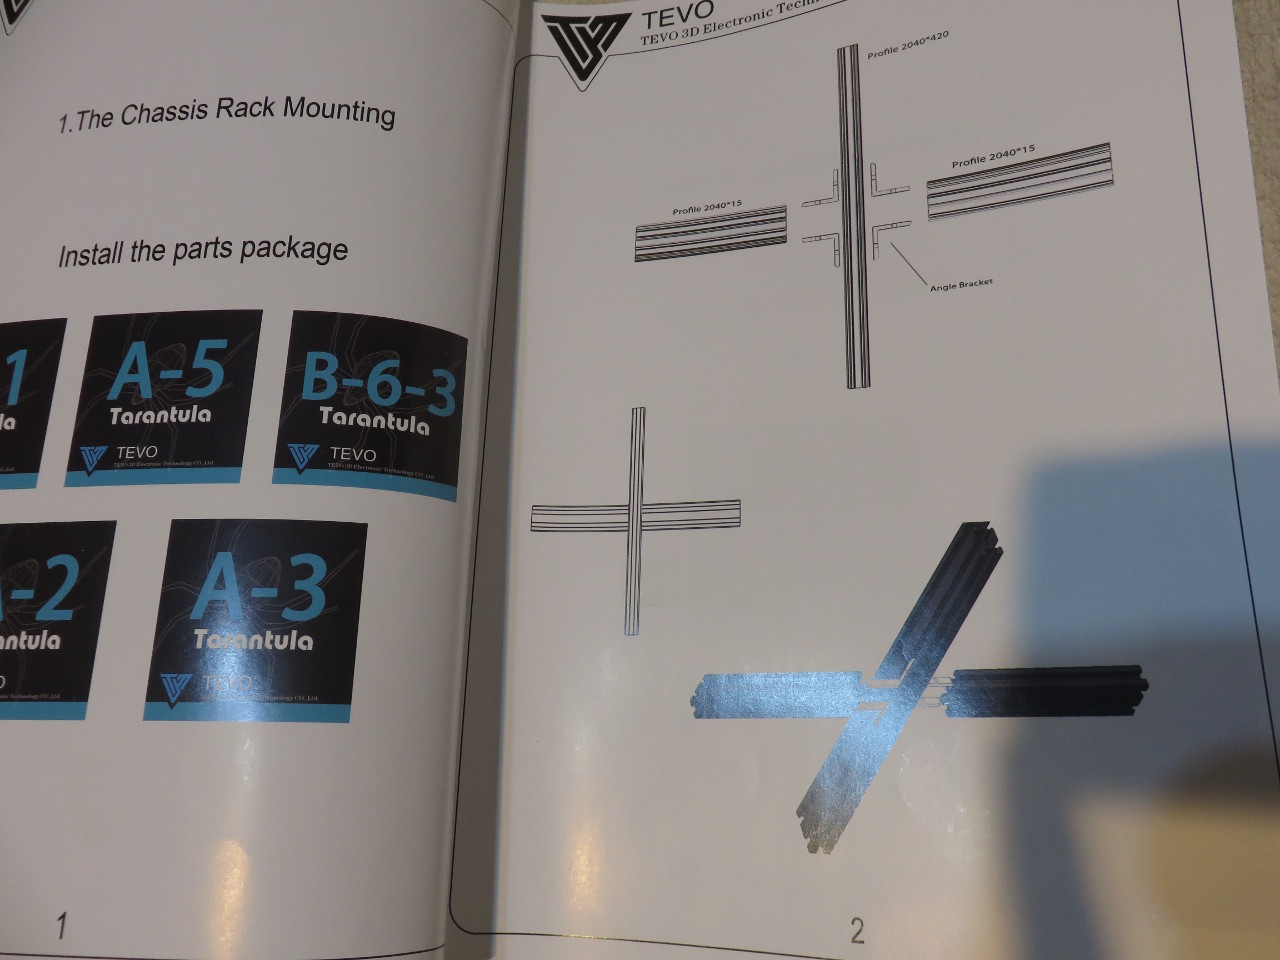
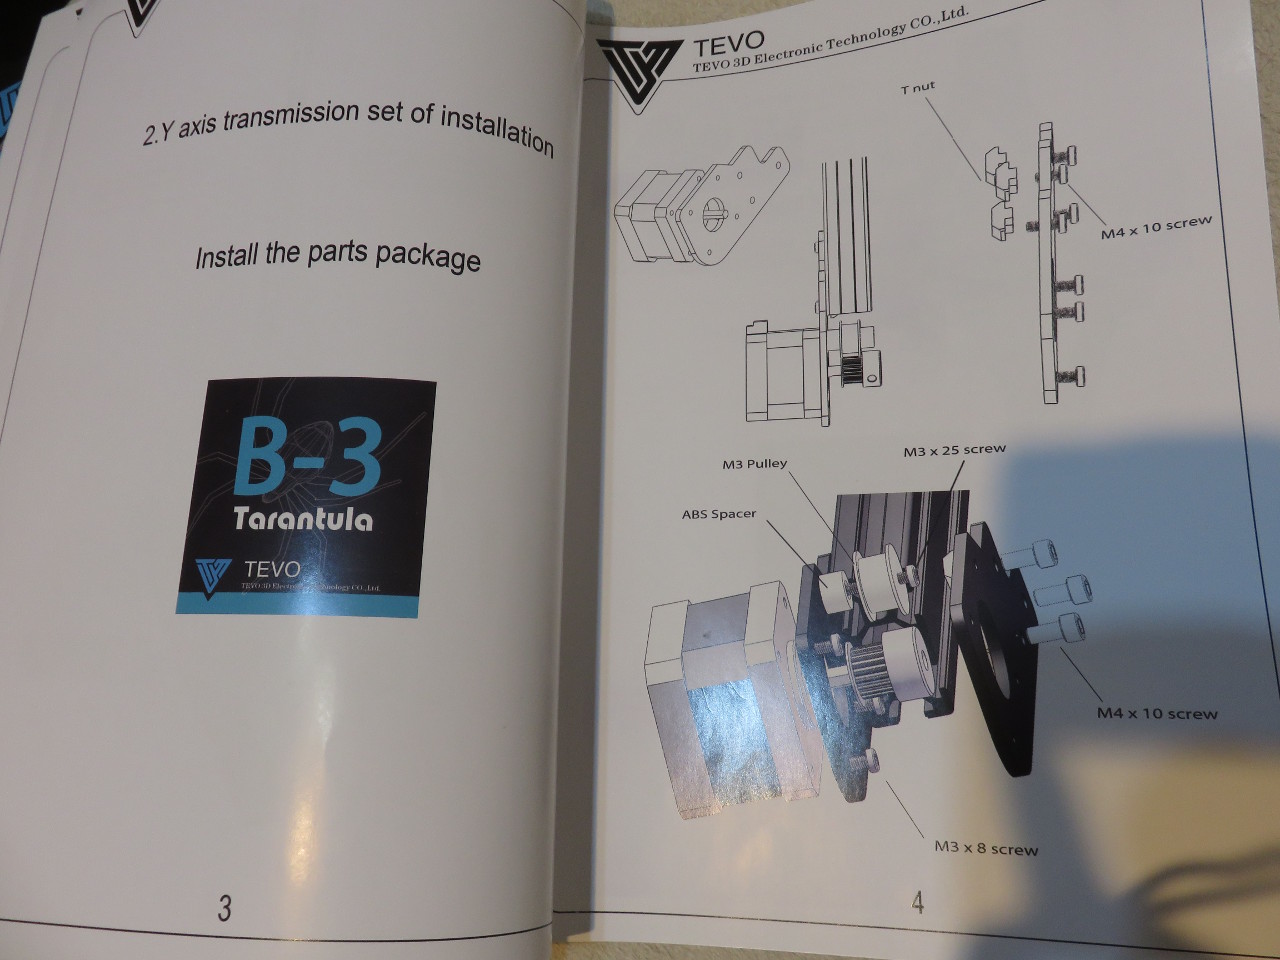
The 2nd page explains how to mount the y stepper motor so that it does not work with the included firmware, it needs to be mounted on the other side or the firmware changed and rebuild, also if you look carefull you will see that on the bottom there are 2 identical acrylic parts depicted, one serving no function and IIUC a left over from a older revission, they do include this part physically, its useless though.
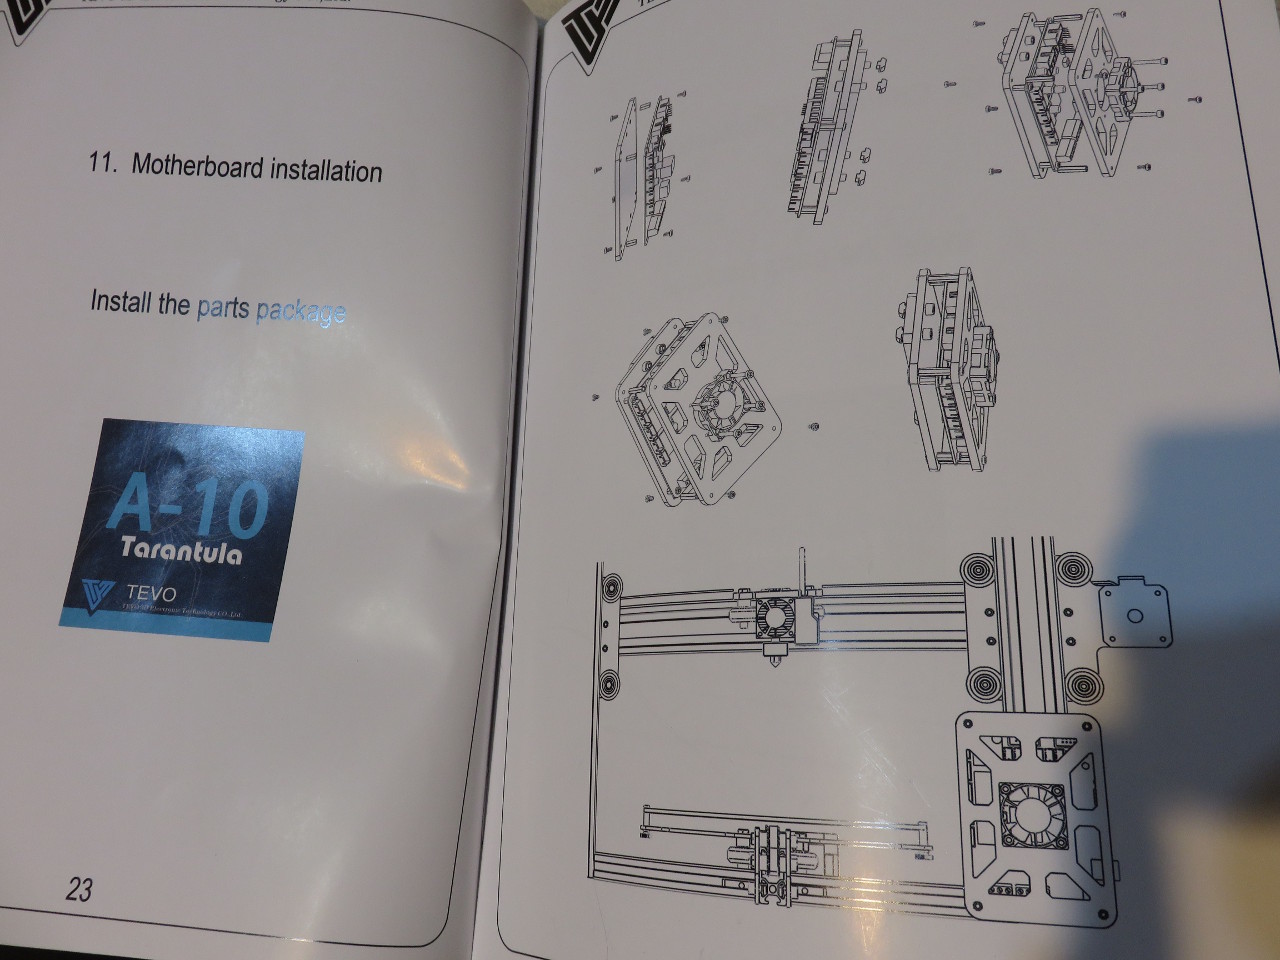
A few pages in, the author apparently decided to stop annotating parts in the middle.

And 2 pages later all annotations are gone, and one has to use trial and error to find out that no included screw fits in some places.
Thanks to the community there are 2 video series on youtube though that explain how to put the printer together. Searching for “tevo tarantula assembly” finds these and might also find future ones. I recommand watching both and reading the manual before and while assembling, that way no mistakes should happen.
2 nuts included lacked threads entirely, one pulley was bent, the speculatively bought replacement parts included these luckily :)

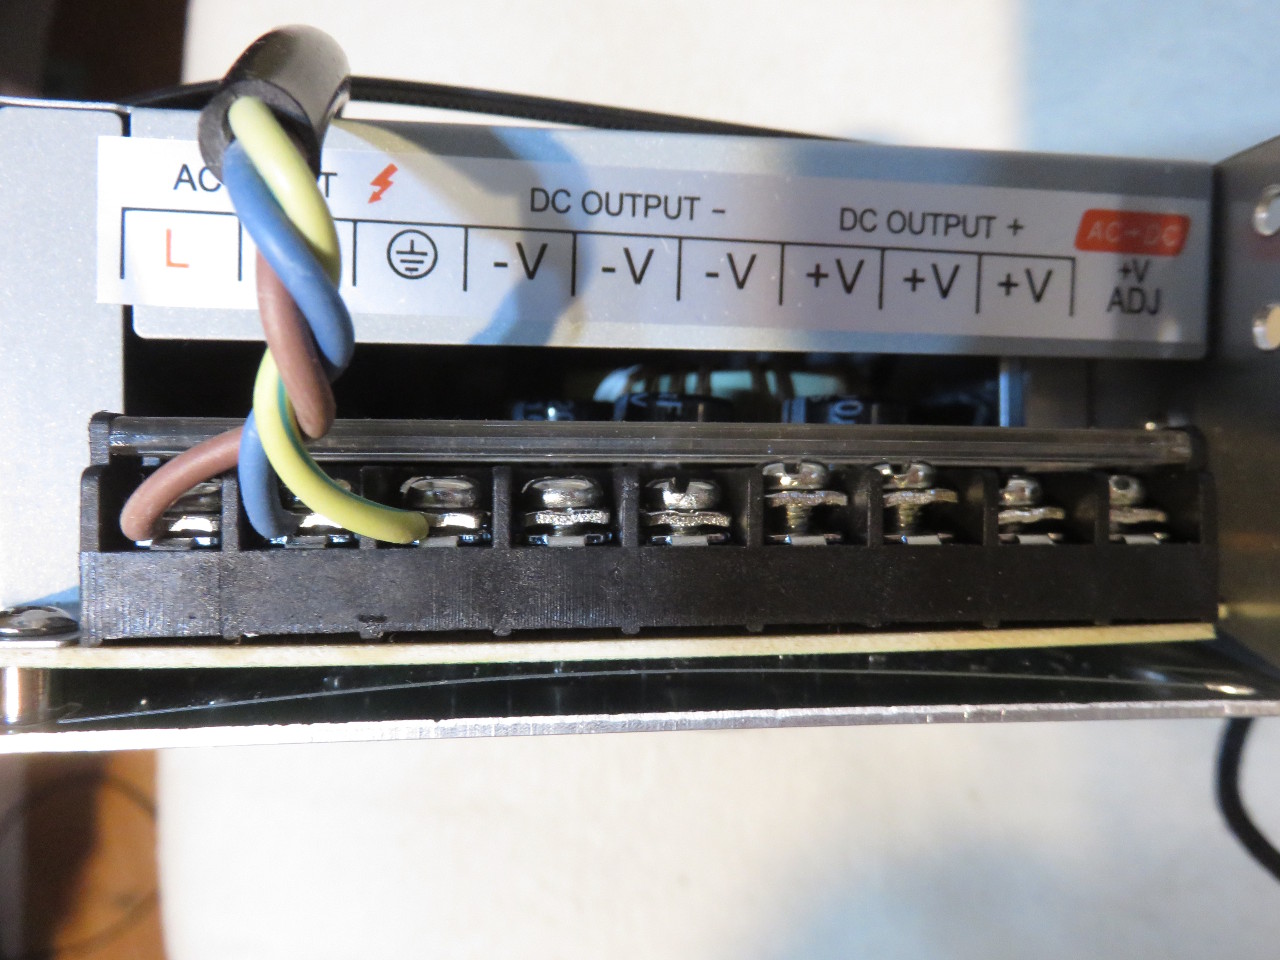
The power supply works fine, sadly theres no real enclosure. The main wire terminals can be touched if the user puts his fingers on the power supply. Theres also no power switch, to switch it off you pull the plug from the wall. The fan of the power supply is quite noisy. Its output is 12V 25A (didnt test if its actually capable of sustained 25A thats just what the sticker says). I quickly replaced it by a random old ATX power supply which i had laying around, that way it has a nearly inaudible fan, no exposed mains voltage parts, a power switch and a few more voltages for free.
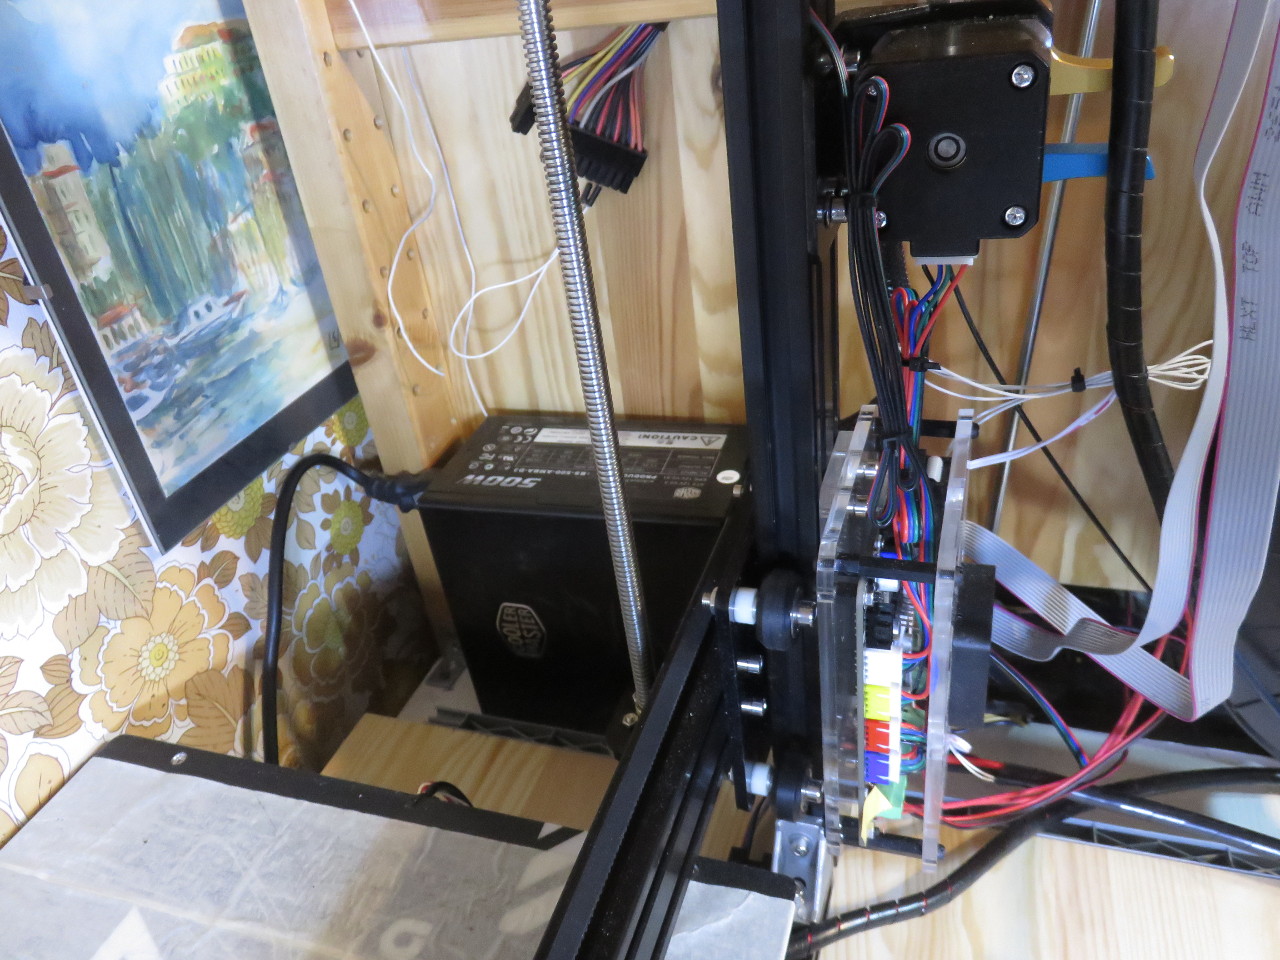
One of the first things i printed was a fan duct for part cooling, that improves print quality. I also covered the acrylic plate below the heated bed with aluminium tape as it appeared to soften from the heat and bend slightly requiring level adjustments between initial power on and when it had heated up. I also screwed the printer onto a piece of wood. That makes it independant of the flatness of the surface its standing on, it makes no difference in print quality though.

The LCD display as it comes with the printer isnt attached to anything and there seems no really great place to put it wthout extra parts, so i cut and drilled a piece of aluminum and attached it with that on the top. That location works. Slightly lower and in front of the al extrusion it would be in the way of the cables and tube from the print head if it moves higher up.

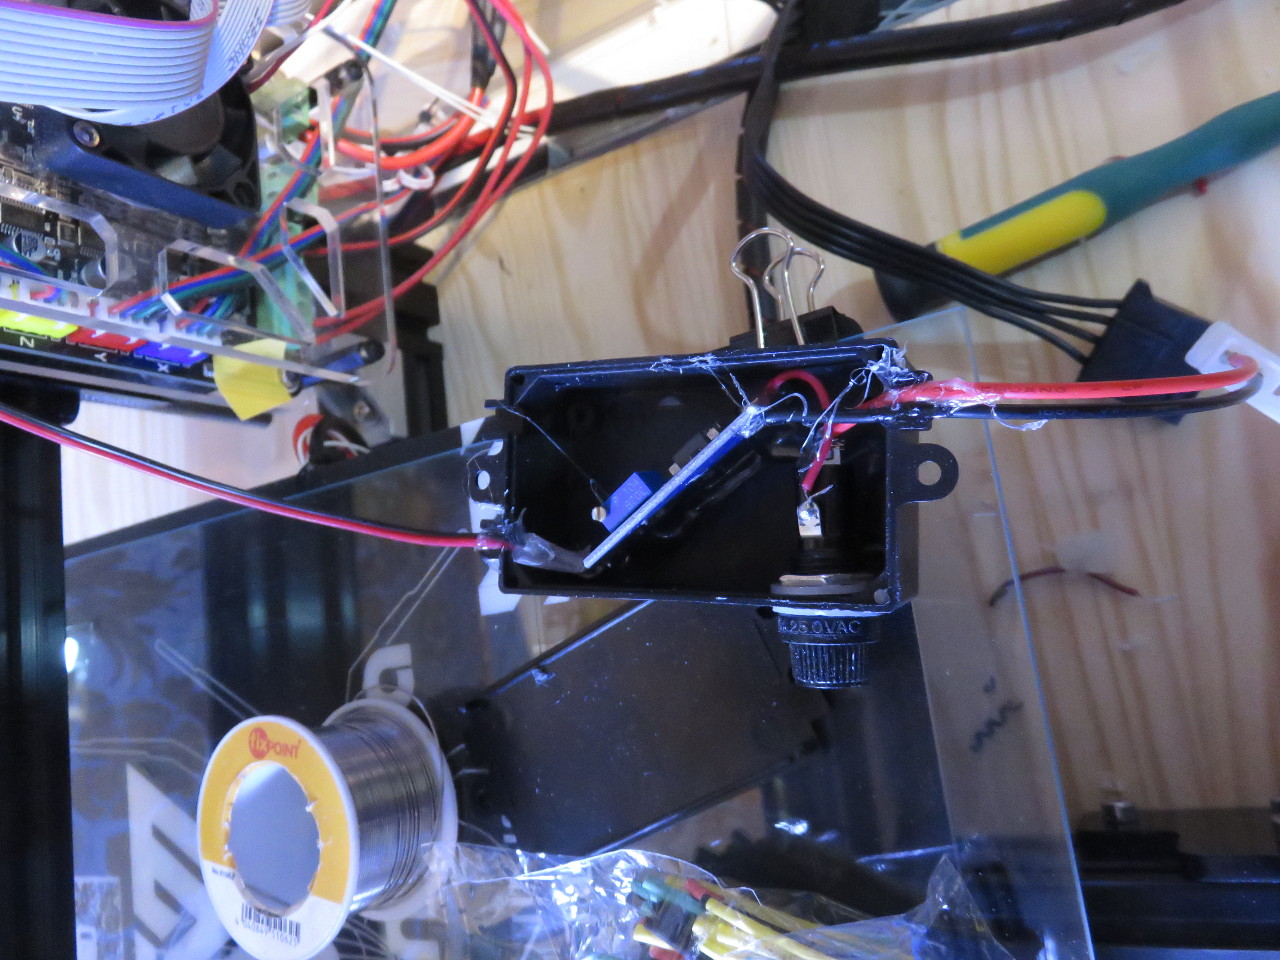
To better see what the printer is doing i added some 12V LED stripe with some kapton tape for isolation and stuck into the top alumiunium extrusion, it exactly fits. Powering this off the 12V line results in flicker as the heater elements being switched on and off cause +-1% voltage fluctuations. I thus stuck a cheap ebay voltage booster in line (12->13v) which fixed this until i powered it off and on, at which point the magic smoke left the voltage booster. Assuming that it didnt like the rather small boost of around 1 volt i took a new booster and this time added a fuse and fuse holder and powered it off the 5v line. After it worked fine over many hours and some aggressive power cycling i put it in a nicer box with ugly hot glue.
Ive also added a glass plate on top of the heated bed taken from a ultra cheap picture frame that was hanging on the wall, temperature cycling it to 130°C and printing a few things on it had no ill effects, no need for borosilicate glass here apparently.
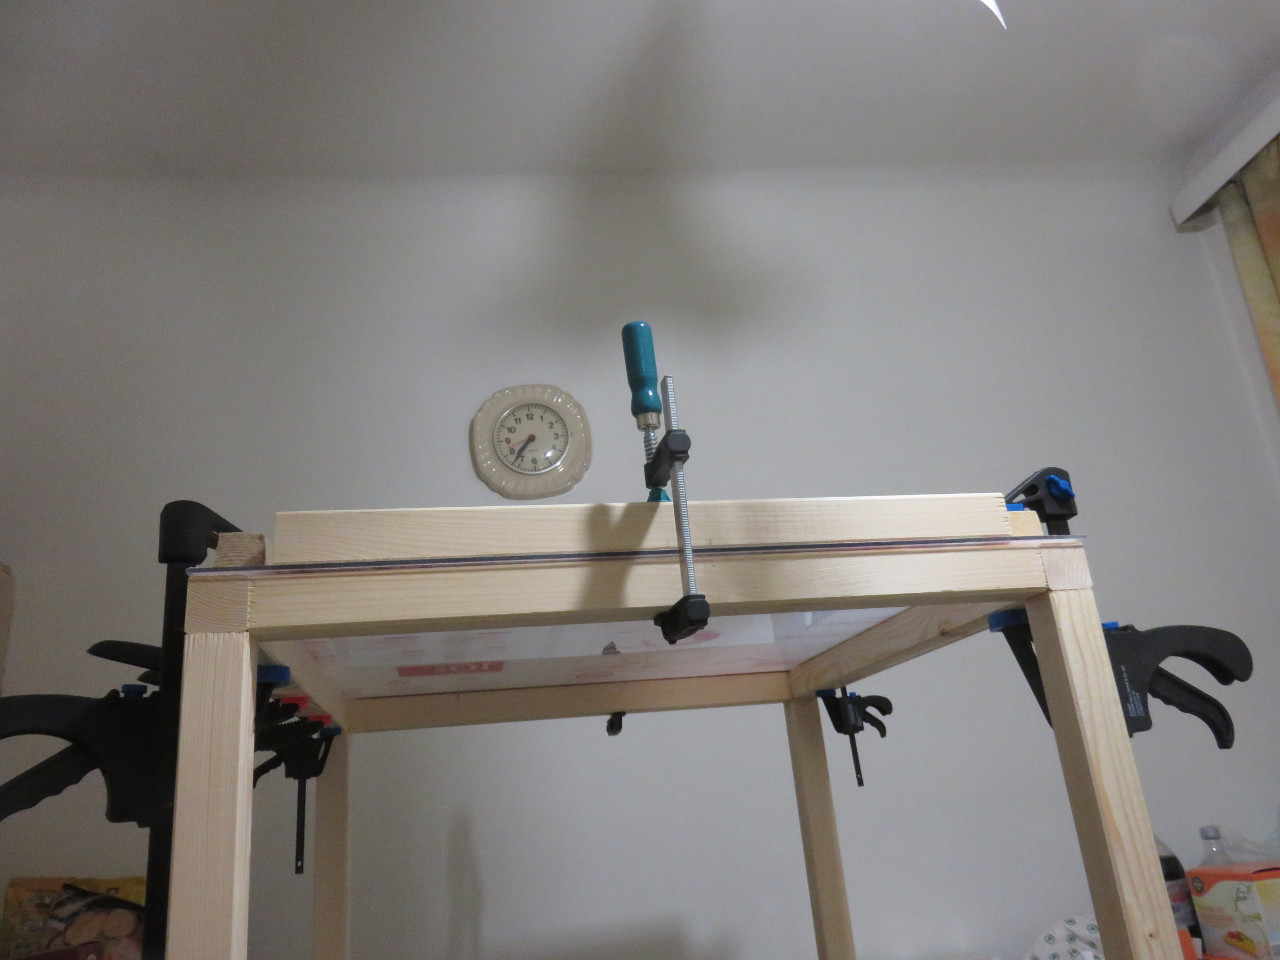
And last ive build an enclosure for the printer out of wood and polycarbonate plates, some screws, silicon and 3d printed barrel hinges from thingyverse. I failed to find hinges in a shop locally that i liked. With these hinges one can also just simply remove the front door by just lifting it up. With the enclosure the print(er) wont get dusty, and is alot less noisy also it appears to have improved the results with ABS.

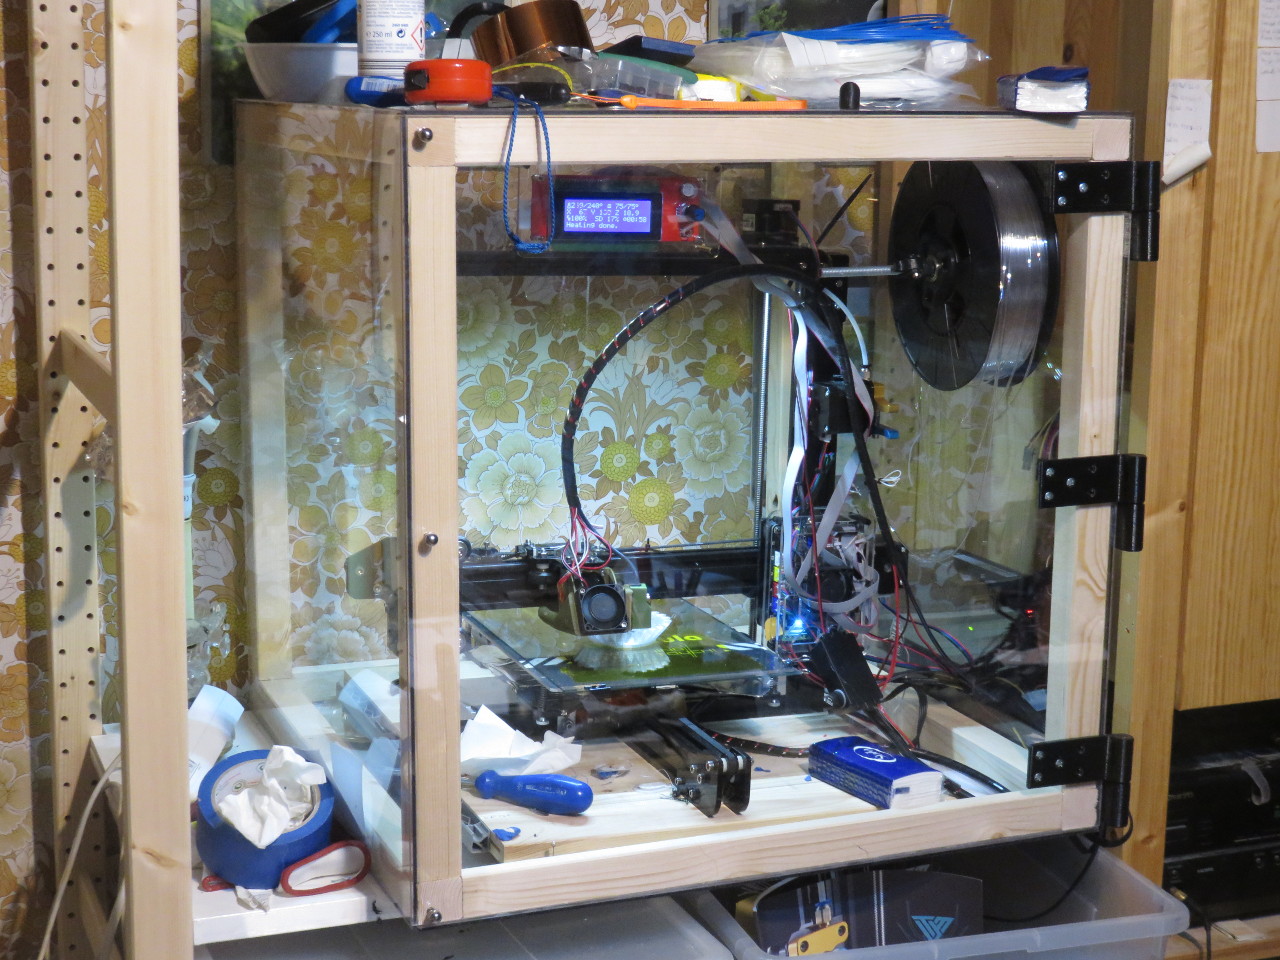
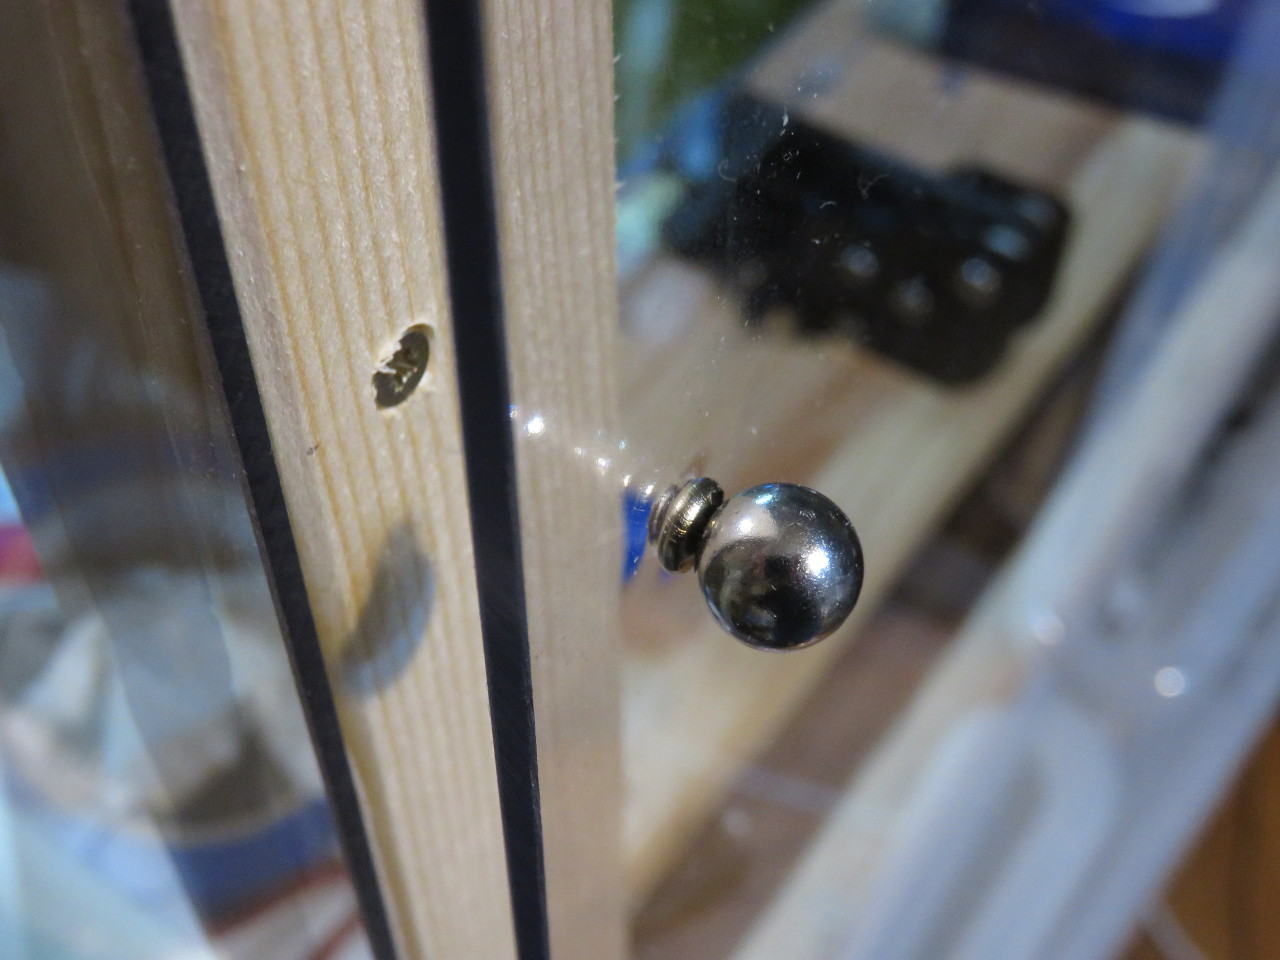
The door locking mechanism is build out of 3 times 2 screws and a ball neodymium magnet, and works very nicely.

Thanks a bunch for sharing this with all of us you really
recognise what you’re talking approximately! Bookmarked.
Kindly also seek advice from my web site =). We could have a hyperlink trade arrangement
among us
Comment by best tour company in ethiopia — 2018-12-18 @ 15:42